Free, awesome desktop Linux in a disposable virtual environment? Yes, please!
Most of the hacking tutorials that I see floating around the internet require Kali Linux and, in fact, so do my own projects on this website. I’ve heard more than a few questions from folks just getting started in cyber security about just how to install and setup Kali as a VM, so I am going to detail that process here. A few notes:
- Are there other ways to install/use Kali Linux? Yes. You can use a different hypervisor or even install it on bare metal. But most people are going to use it on a Windows host and I find that the VMWare Player makes this process the easiest to implement.
- Can I use my favorite penetration testing tool on another distribution? Yep, you sure can. You can install almost any pentesting software on Ubuntu, for example, but with Kali everything is already installed and set up for you, including software that’s not available in the Debian/Ubuntu repositories.
Let’s get started.
Prerequisites
Host Windows 10/11 PC with the following BARE minimum specs:
- 4+ Core Processor. We will assign 2 cores to the VM so the more you have available leftover the better your host system and the VM are going to run.
- 8GB+ RAM. You will assign, at a minimum, 2GB of RAM to your VM when it’s active so the more you have in reserve the better your experience will be.
- 40GB+ available storage. Most VMs assign storage dynamically these days, but the total hit on your HDD/SDD can add up quickly if you have multiple VMs. I suggest having at least two – a master that you rarely touch, and a clone for everyday use. More on this later.
If you have a laptop with limited storage for your VMs, you can simply buy a cheap external HDD or SSD and set your VM storage to that drive. I bought a portable Toshiba 4TB external HDD for less than $100 on Amazon and it works great.
You will also need to install a file archiver called 7-Zip. This is free, open-source software and adds the ability for Windows to work with all sorts of useful archive types including the native .7z format, as well as tar, gzip, and others. The pre-built Kali Linux VM that you’ll download in a later step is in the .7z format. Download the 64-bit Windows installer for 7-Zip here.
Download and Install VMWare Player
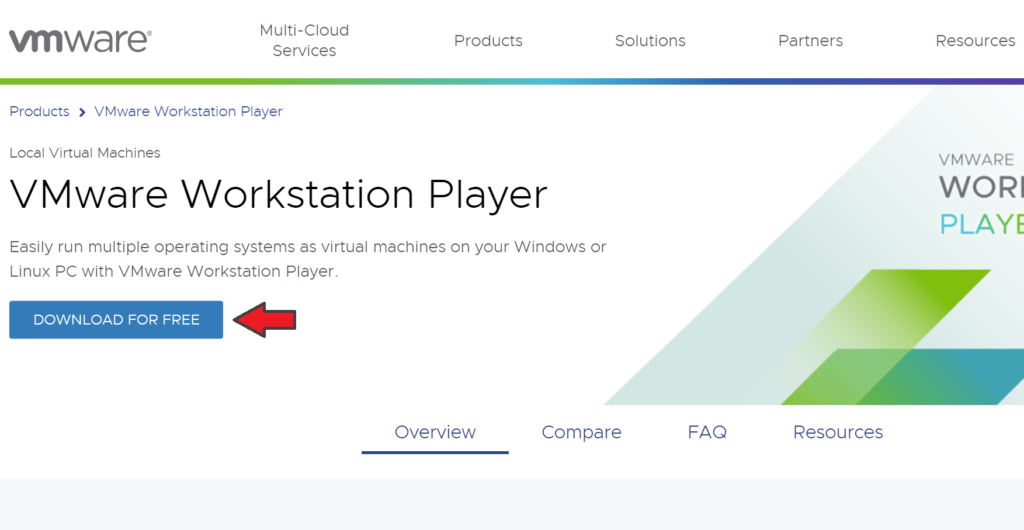
Head to the VMWare website and click “Download for Free”:
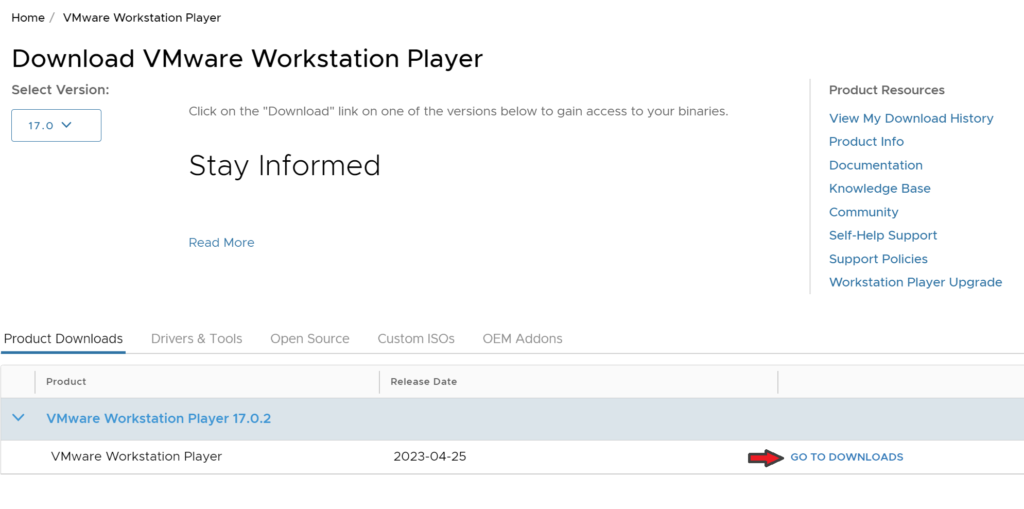
On the next page, click “Go to Downloads”:
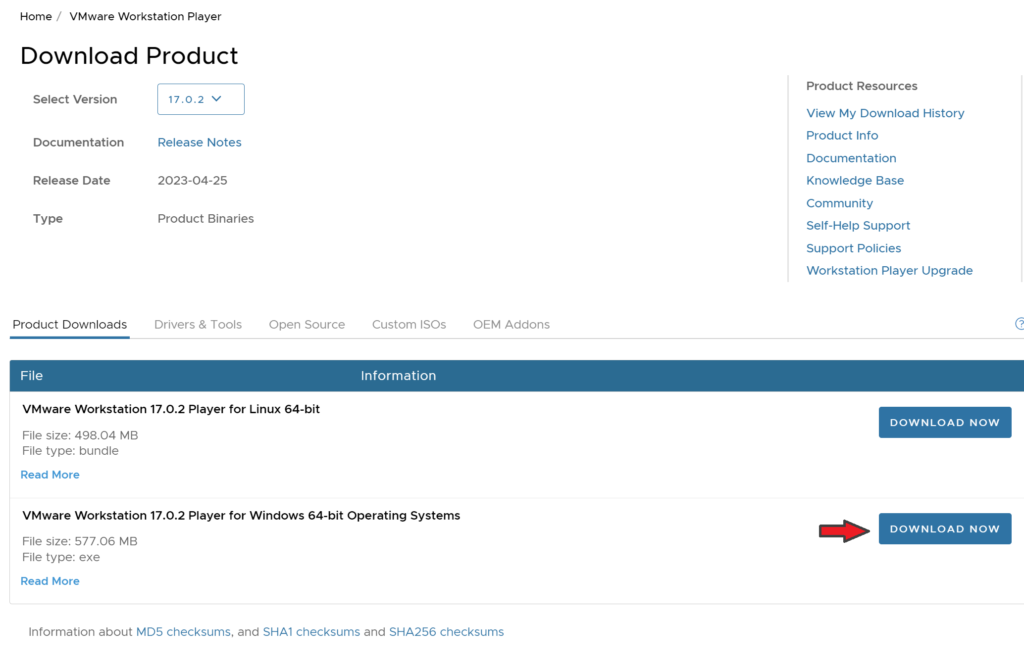
Make sure you download the Windows version…
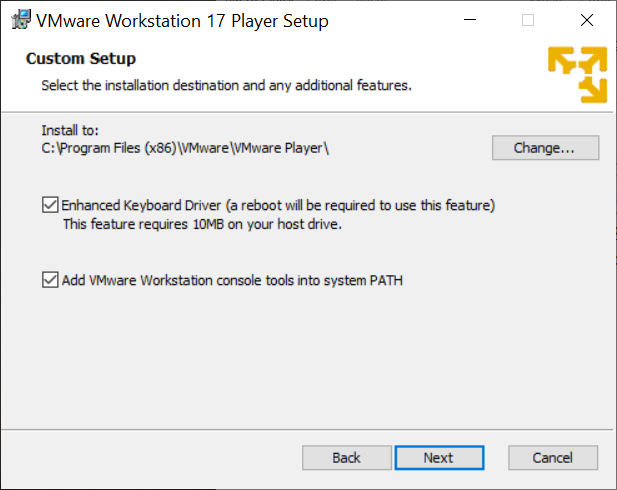
Once you’ve downloaded the installer, go ahead and click through the installation process as you would with any software. I generally accept the installation defaults, except for the following…
Click to select ‘yes’ to install the advanced keyboard driver:
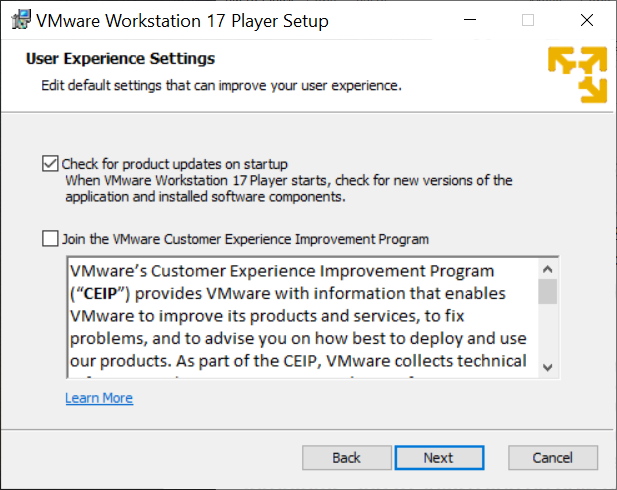
…and I usually opt out of any data collection requests:
That’s it! The installer will ask you to reboot your PC; go ahead and do that.
Download and Import Kali Linux
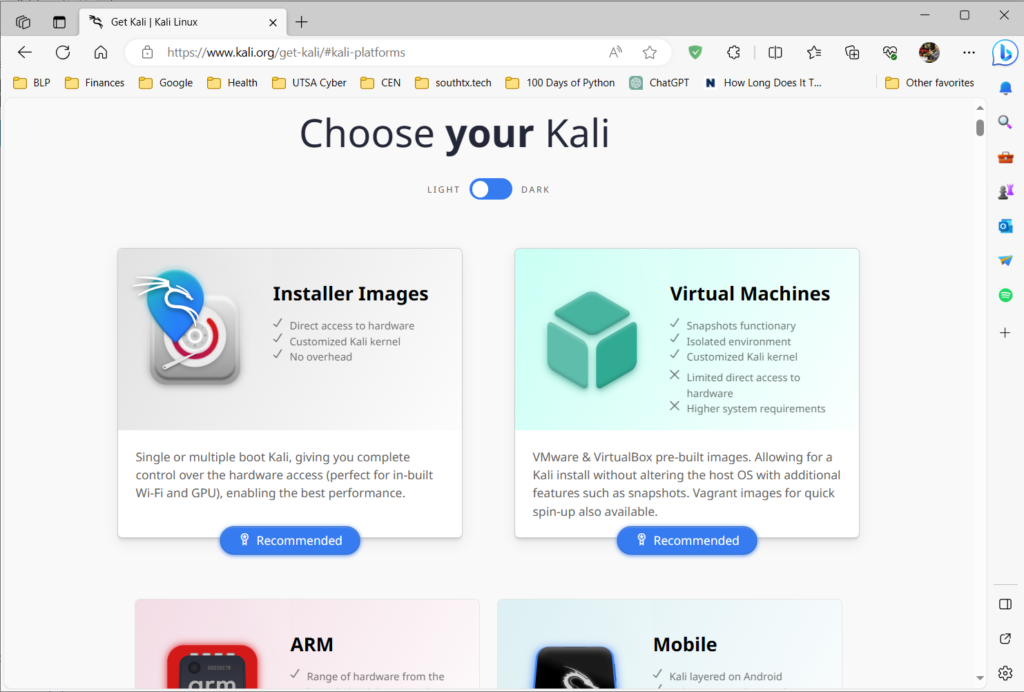
Now that your VMWare Player is installed, you will need to download and import Kali Linux. Fortunately, Kali provides us with pre-built images for a variety of hypervisors so no lengthy, confusing installation is needed! Go to the Kali website and select the “Virtual Machines” platform:
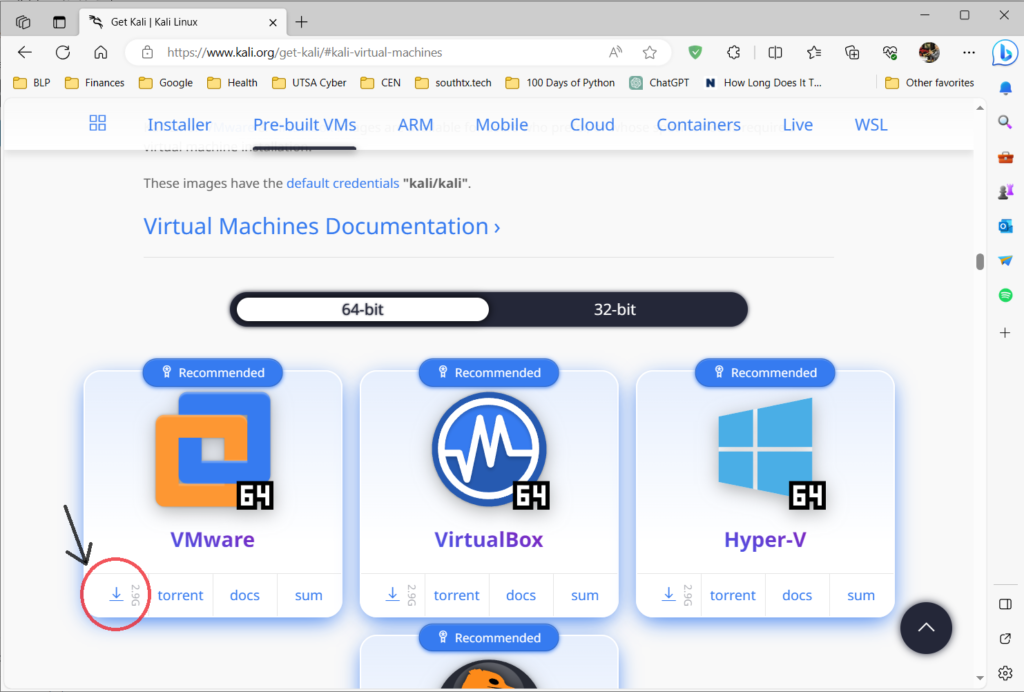
On the next page, you will select the VMWare download (below). This is a large file and will take a while to download, depending on your internet speed.
Go to your Downloads folder and right-click the archive you just downloaded. Select 7-zip –> Extract Here. The extracted folder that results is your Kali VM data files. I suggest moving this folder to whatever drive you intend to run your virtual machine from. In my case, I dragged this to a folder on my external HDD that I named “VMWare VMs.”
Now, start VMWare Player by double-clicking its icon on your desktop. You will be using this for non-commercial purposes, so select that and then Finish. Select Open a Virtual Machine, navigate to the folder you extracted previously, and open the .vmx file that is automatically selected for you.
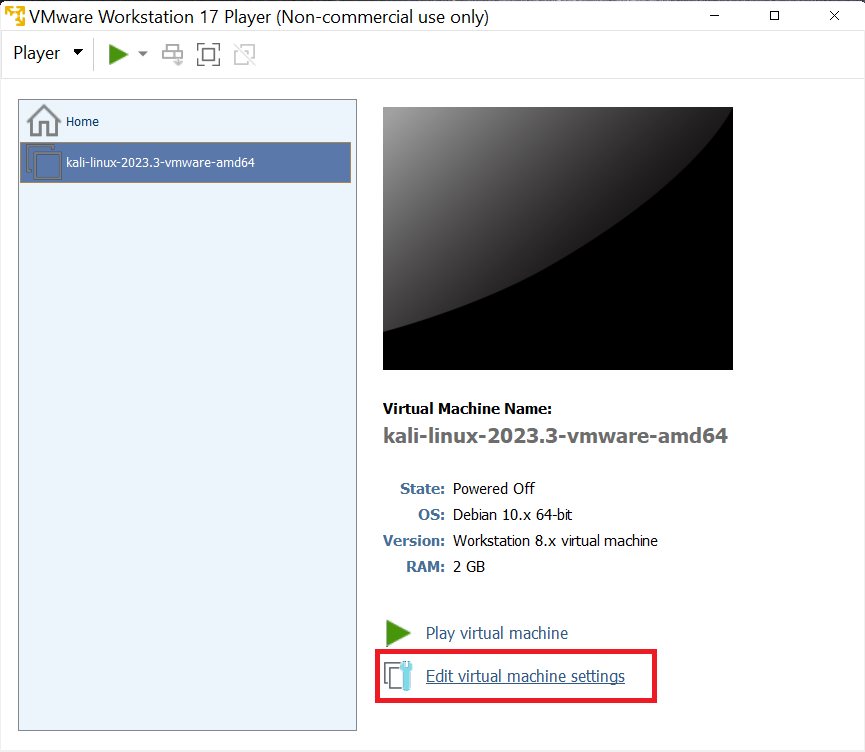
At this point, you can go ahead and start up the VM, but there are a couple of tweaks I like to make before getting started. Select Edit Virtual Machine Settings:
I like to have a little more than the 2GB of RAM available in Kali, so I generally move that slider up to 4GB (4096MB). I also don’t feel like the VM really needs a quad-core processor, so I move the number of processor cores down to 2.
Starting your Kali VM
When you’ve finished changing any VM settings that you want to alter, click OK and then Play Virtual Machine. Kali will start up quickly and present you with a login screen. The default user:password is kali:kali.
Now you have a fully functioning Kali Linux virtual machine! Take a look around at the available software in the main menu – there is an AMAZING amount of things you can do with this VM, all the way from simple desktop tasks like surfing the internet and word processing, to sophisticated red team/pentesting activites using software like Metasploit, Hashcat, and Fern. Enjoy!!
Optional Setup Actions
First, Kali does not automatically update itself for a variety of reasons, but it’s a good idea to install the latest updates before you start any activities with the VM, and then periodically update it every few weeks thereafter.
You can do this by opening a root terminal (search ‘root terminal emulator’ in the application menu and enter the admin password ‘kali’) and issuing the following commands:
apt update && apt full-upgrade -yThis will take a little while. When it finishes, use the power menu applet on the far right of the top toolbar to restart the VM.
Second, it’s a good idea to create a clone of this VM and use the clone in your day-to-day activities. Chances are, you’ll mess something up along the way using the VM, but if/when that happens, you can simply delete the clone and create another from your master VM. So, take the time to update the master VM, customize the wallpaper, create application shortcuts, etc. Then, each time you create a clone, you will have those customizations available instantly.